Fresh Olives, Cured in Your Home Kitchen
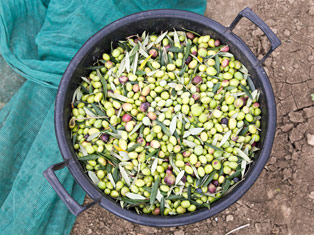
Olive season is here - and with it, an abundance of fresh olive fruits.
The Mediterranean climates of Italy, Spain, and Greece have long been home to expansive groves of olive trees - many of which are used to produce delicious, nutritious extra virgin olive oil, as well as the fruits we know and love. But did you know that olive trees also grow in many locations throughout the Western and Southwestern United States?
Valued for their copious silver-green foliage and drought resistance, olive trees are often used for landscaping purposes - however, when not planted for the production of extra virgin olive oil, the fruits of these trees often go to waste.
Because unprocessed olive fruits are very bitter, many modern caretakers assume they are inedible - however the truth is that all fresh olives are high in oleuropein, a harsh-tasting compound which must be removed before the fruits are palatable.
The only difference between olives fresh from a tree and those you’ve come to know and love is that those on your plate have already been cured. This means they’ve spent some time steeping in a solution or substance which draws out the bitter-tasting oleuropein, before finding their way to your table.
There are many methods for curing olives - though we’ve discovered that most are quite simple. If you’re lucky enough to live in an olive-friendly locale, you can use this basic water curing method to prepare your own fresh, delicious table olives at home. Though it takes a bit of time - it’s incredibly easy, and immensely rewarding. And it means your local fruits won’t go to waste!
Our method for water curing olives works best on smaller varietals, such as manzanillo, mission, and kalamata. The below process will work for up to 10 pounds of fresh olives, picked from any of these varietals. Ready to try it out? Follow these simple steps.
Wash your olives thoroughly. Take a moment to look the fruits over closely, discarding any which are bruised, defective, or showing signs of damage from pests.
Sort fruits by size and color, to achieve the best results. Green olives are younger, with firm fruit and smooth skin. They have a fresh, nutty flavor once cured - but will be higher in bitter compounds when first picked, which means they might need to cure longer in order to achieve the desired taste.
Ripe olives are purple or black in color, with a soft texture which is more prone to bruising. They may take less time to cure in water, so you’ll need to keep a close eye on them.
Crack or slice the olives. Before water curing olives, the skin of the fruits must be broken, to allow the oleuropein to leach out. Place green olives on a cutting board, and strike gently with a flat mallet (or crush with a rolling pin) to crack the flesh. Soft, ripe fruits can be sliced by drawing a paring knife through the skin, penetrating a few millimeters into the flesh. With either technique, take care not to damage the pit.
Soak the olives thoroughly. Place your sorted fruits in a large cookpot or foodsafe pail, and cover completely with water. To avoid floaters, flip over a heavy plate (or a lid one size smaller than your chosen pot), submerge it, and use it to weigh down the olive fruits.
Replace your soak daily. Once a day, you’ll need to drain the soaking solution from your pot, and replace it with fresh water. Repeat this process for 8 to 10 days. For very bitter, green fruits - you may continue the process up to 20 days.
When water curing olives, the longer the olives soak, the less bitter and more intricate their flavor will become - but keep an eye out for signs of deterioration. Finished fruits may be slightly discolored or shriveled - but very soft or dissolving olives should be removed, as they will become tasteless.
Once the debittering is complete, you’re ready to finish your fresh olives. First, make sure you’ve got a few bottles of Bellucci 100% Italian EVOO on hand. Then, prepare your finishing brine, as follows:
For Kalamata-style (dark fruits) - add 1 ½ cups of pickling salt to 1 gallon of cool water. Stir to dissolve, then add 4 cups of red wine vinegar.
For Mediterranean-style green fruits - add 1 ½ cups of pickling salt to 1 gallon of cool water. Stir to dissolve, then add 2 cups of red wine vinegar.
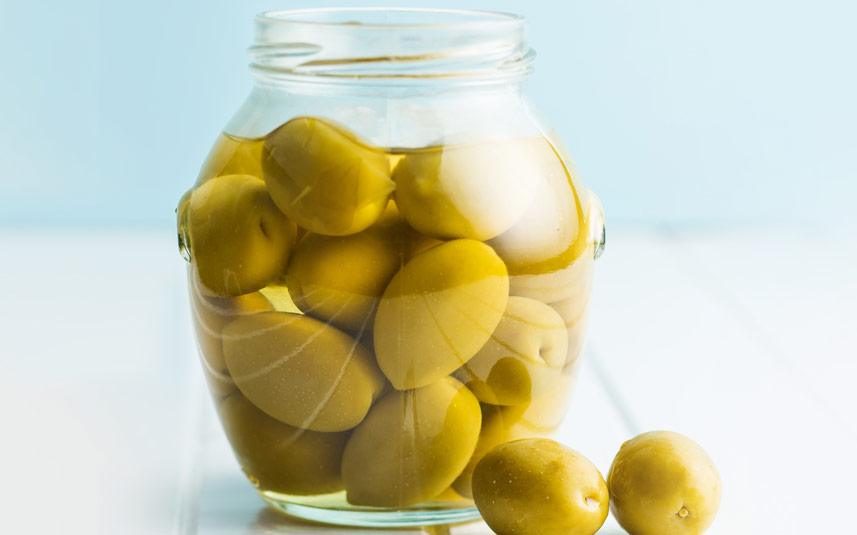
Drain the soaking solution from your olives, then place them in sealable jars or containers. Leave about an inch of space between the olives and the top of the container. Cover completely with finishing brine, and then top with ½” to ⅜” of Bellucci 100% Italian EVOO. Store in the refrigerator. Green olives are ready to eat after 4 days, while black olives may take up to 4 weeks to develop the desired flavor.
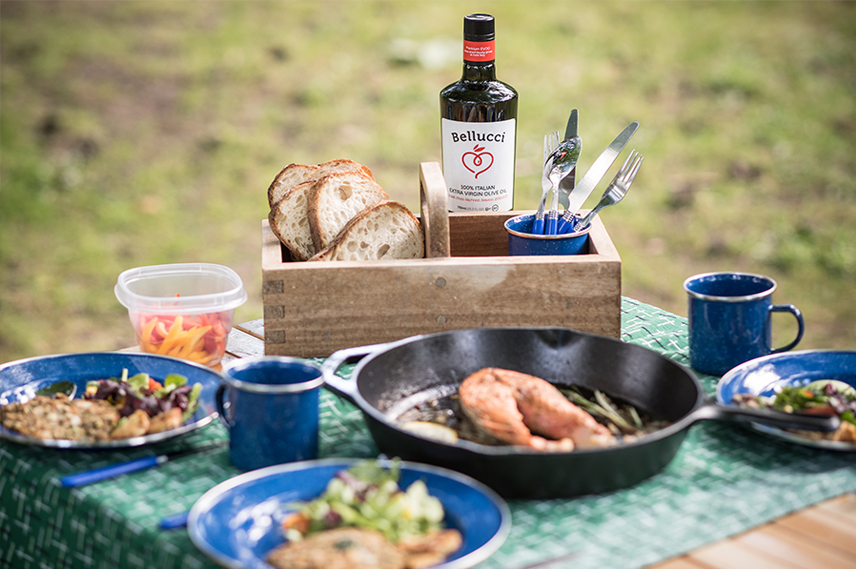
Once you’re ready to eat your olives, simply place them in a serving dish, and allow them to reach room temperature. Drizzle with a bit of fresh Bellucci 100% Italian EVOO, and serve alongside your favorite authentic recipe.
Need some inspiration? Reach for Recipes, or Pour More for Bellucci’s best lifestyle and cooking tips!
Some information sourced and adapted from UCDavis Publication 8267 - https://anrcatalog.ucanr.edu/pdf/8267.pdf